Day 1
Day 2
Day 3
Day 4
Day 5
Day 6
Day 7
Day 8
Day 9
Day 10
Day 11
Day 12
Finally, after a week and a half of preparations, I can now get start moving the wires from the old radio connectors to the new ones.
If you remember, two radios are coming out, and one radio is going in that has the functionalities of both combined (plus a whole lot more). Since there was only one primary navigation display (the HSI), there was a relay used to switch all the HSI's inputs between the two radios. With only one radio now, there's only one physical source of inputs for the HSI, so the relay is no longer actually needed. However, since it is a part of the plane's wiring, pulling it out would mean reqiring a lot of stuff, so instead, we'll just leave it in the "relaxed" mode and move the wires from the old primary radio (the KX-165 Nav/Comm) and leave the old GPS set capped off.
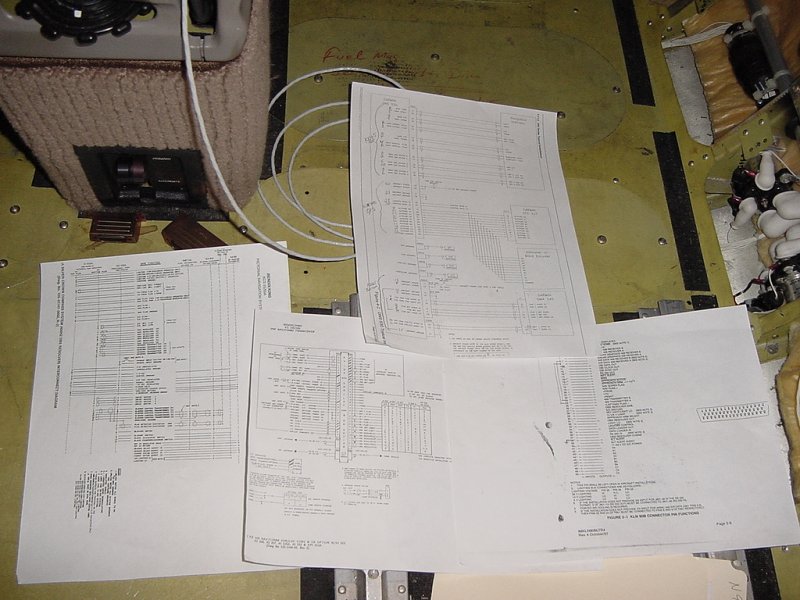
To figure out how to move all the wires over and hook all this together, I refer to a bunch of wiring diagrams, some of which are shown here:
These diagrams come out of the installation manuals for all the individual equipment. We copy them so we can make notes on them and then leave them in the our file for the plane to refer to in the future.
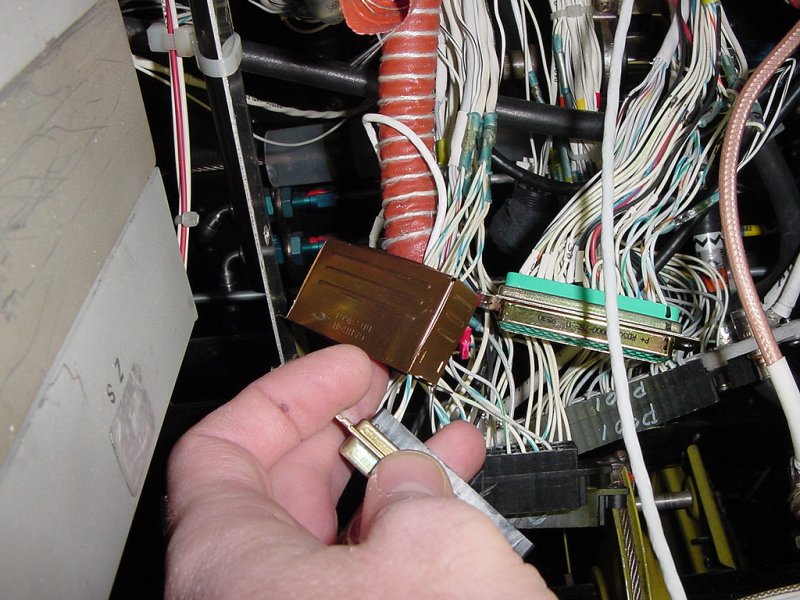
Here's a shot of what I started with:

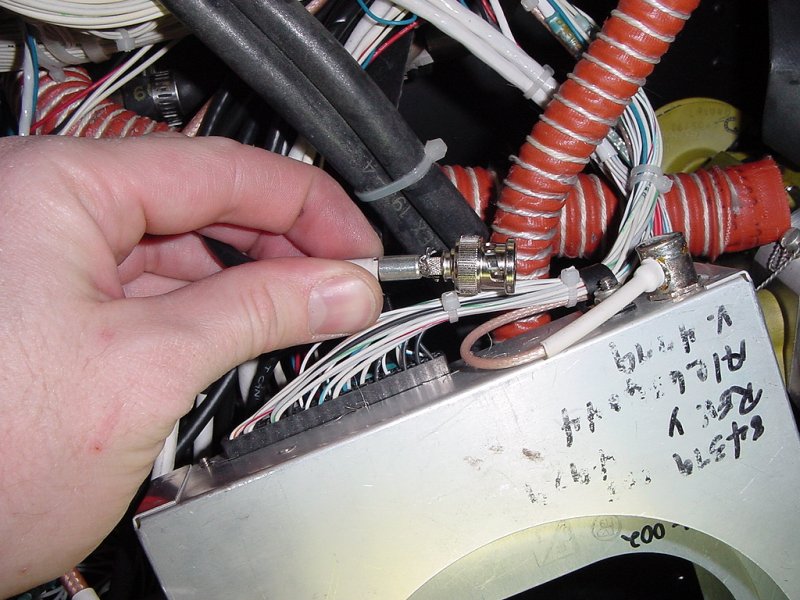
And slowly, I end up with most of the wires moved over. The connector shown here is one of four that connect to the rear of the 530. They are roughly divided by function: VOR Nav, Comm, and GPS & Unit I/O.
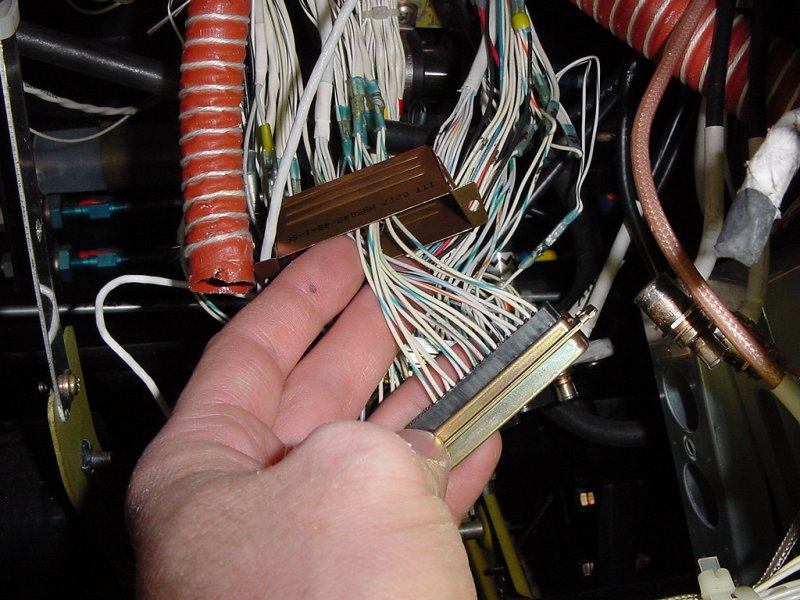
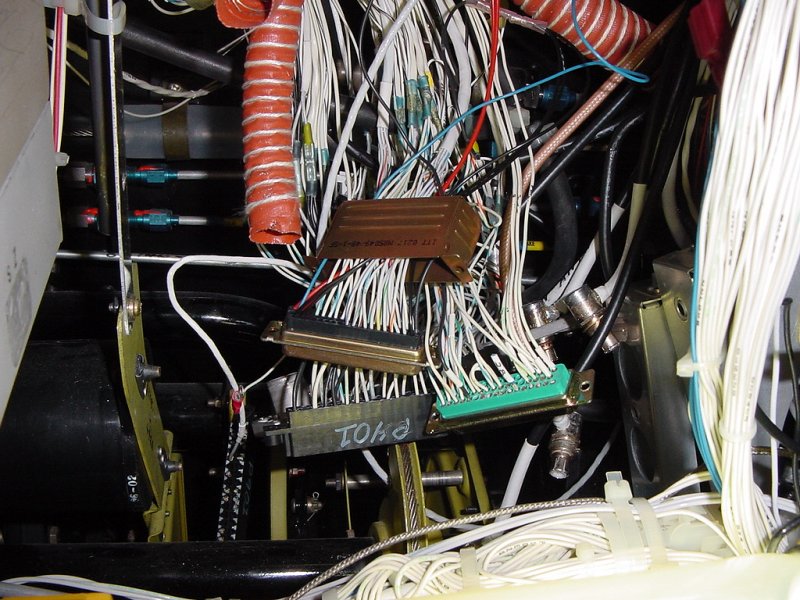
You might notice that the backshell has to be on from the point of insterting the very first wire. This is probably the single worst thing about installing the Garmin products. Most people use (more expensive) backshells that are in halves that can be put in place after all the wire work is done. When moving wires from one connector to another, some of which are in bundled cables, these backshells are always in the way. Not to mention that you occasionally forget to put a wire through the backshell first and have to extract it and reinsert it (I once inserted about 40 pins into a connector using a solid backshell... and then realized what I had done).
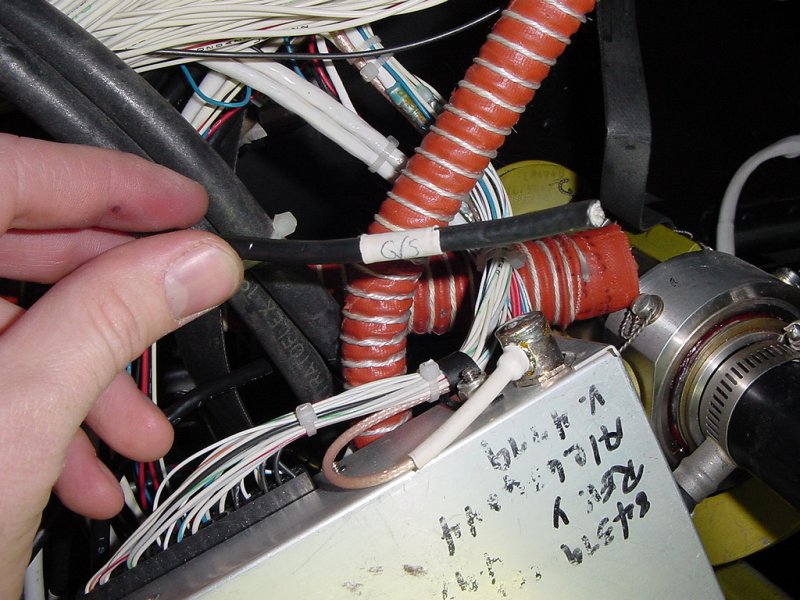
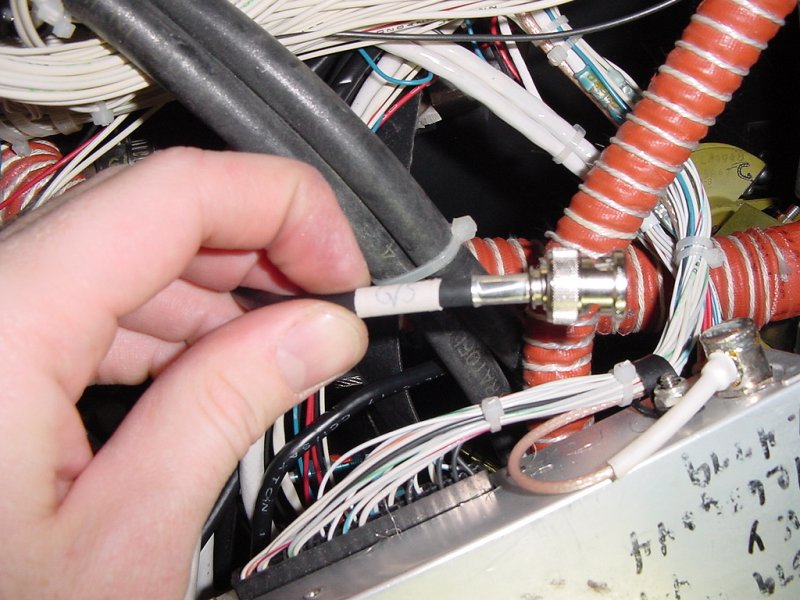
The next step was to change the terminations for the antenna wires. The 530 uses 4 antenna leads coming from three different antennas. The GPS and Comm antennas run straight to the back. However, the VOR Nav antenna is split through a diplexer which allows the Nav and Glideslope frequencies to be received by two radios at once (basically a splitter with a filter in it). The 530 has both a VOR and integrated glideslope receiver in it, so it takes both of these leads.
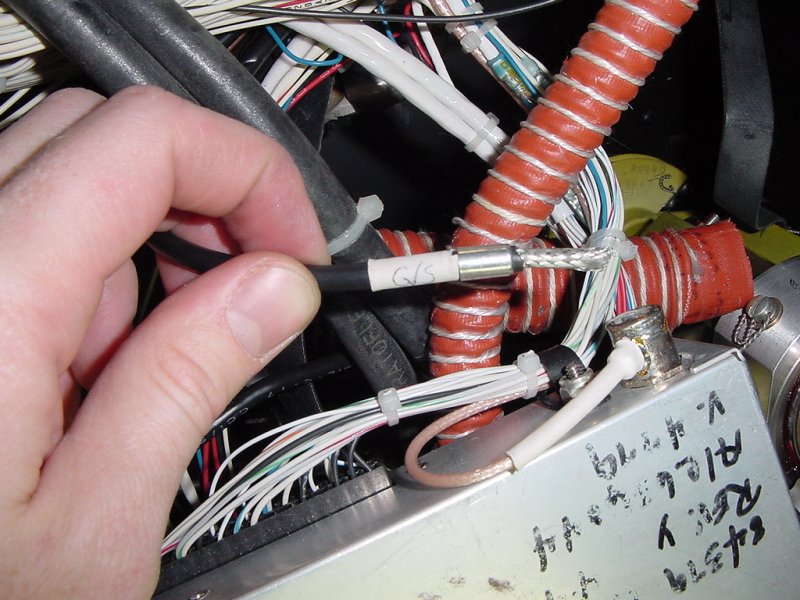
The first step was cutting off the old connector from the end of the coax (you can see a pre-cut end right below the coax still attached to another tray). The new 530 uses BNC connections on the back of it, so we'll be crimping them on to these four leads.
Using my trusty razorblade, I strip off the sheath to the appropriate length after putting the collar on (do it in the other order and you'll have to try and get the metal collar over the fraying shielding... more wasted time).
Next, I pull back the shielding and strip off a bit of the inner dielectric to expose the inner wire.
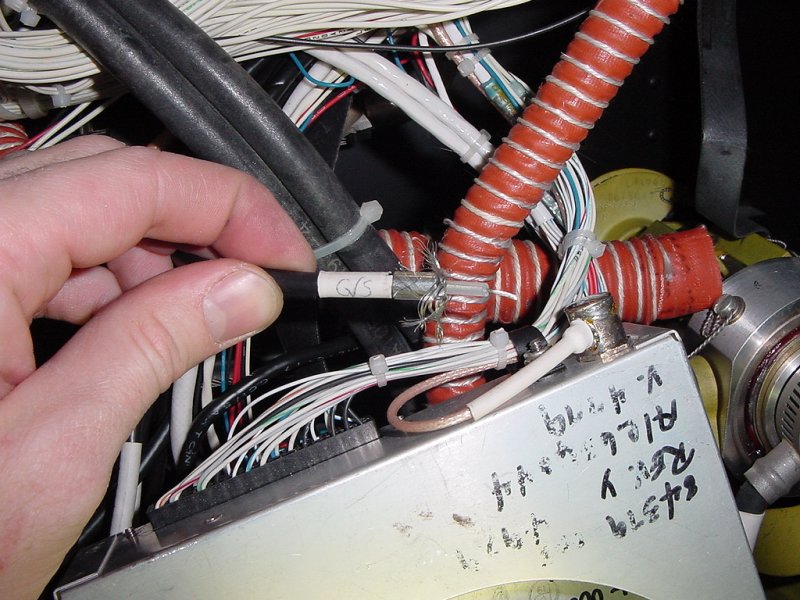
Now the center pin gets crimped on:
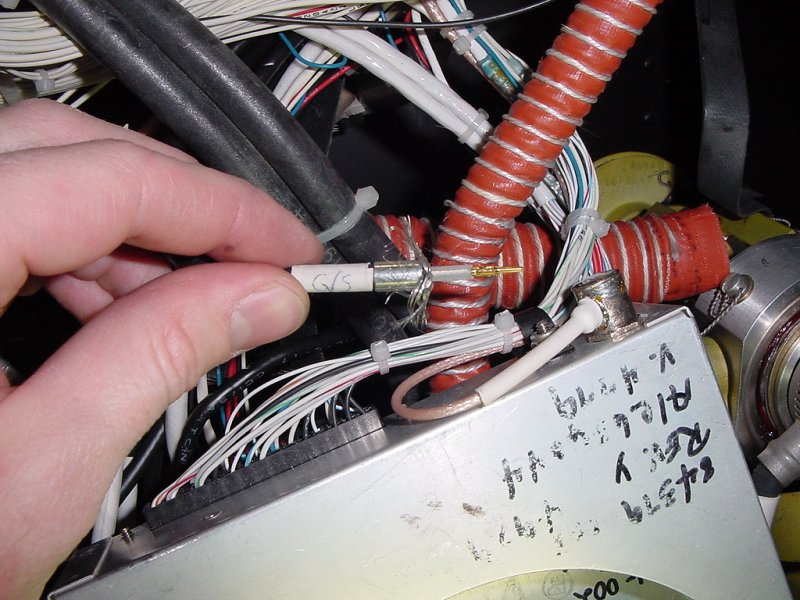
And the connector is slid on, shielding trimmed to a good length, and the collar is slid down ready for one more crimp.

And voila! A newly terminated piece of coax.
On Day 9 I also ran a short wire over to the annunciator switches for the functionality which will now come from the 530 isntead of the NAV/GPS relay and figured out which pins I'll need to splice in to to have it all work properly.
Tomorrow will begin with finishing up the annunciator wiring, splicing the WX-500 into the HSI, and hooking up the power wires (always last). We might even get to turn the 530 on for a quick test... keep your fingers crossed.
Day 1
Day 2
Day 3
Day 4
Day 5
Day 6
Day 7
Day 8
Day 9
Day 10
Day 11
Day 12