Day 1
Day 2
Day 3
Day 4
Day 5
Day 6
Day 7
Day 8
Day 9
Day 10
Day 11
Day 12
The primary reason for mounting the antennas was so that the overhead panel could be put back in place with the all important battery master switch. Now that this has been done, the work continues with the front panel.
You might remember that this all started on Day 3 when I started looking for the relay that switches the nav data going to the HSI between the GPS and the #1 Nav radio. At first, we thought it might be the unmarked green box at the back of the plane since it clicked when the switch was moved between "GPS" and "NAV" (VOR). After some beeping around with a meter (digital multimeters have a "beep" mode that will beep at you when you find a low-resistance circuit - either a short, or two pieces of metal going to the same place, or in this case two ends of the same 20' long wire), we determined that this probably wasn't the one since not enough lines from the radios went to it.
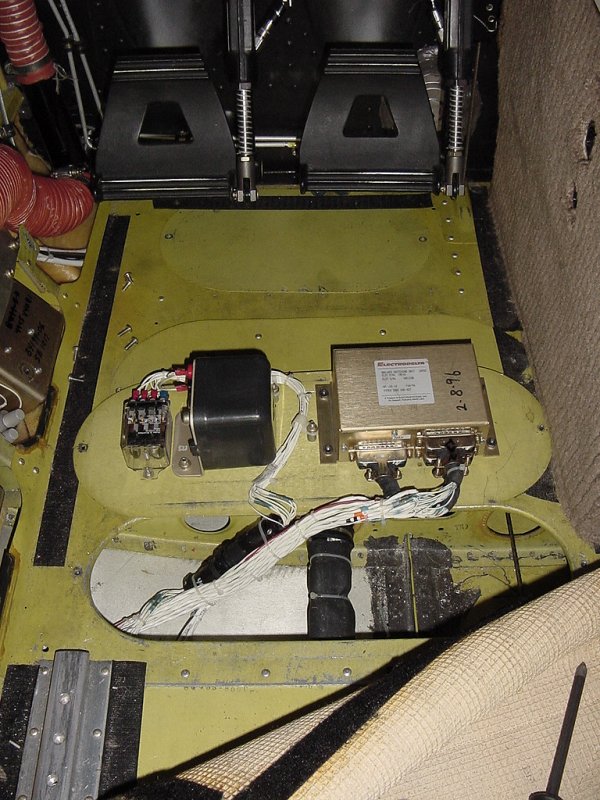
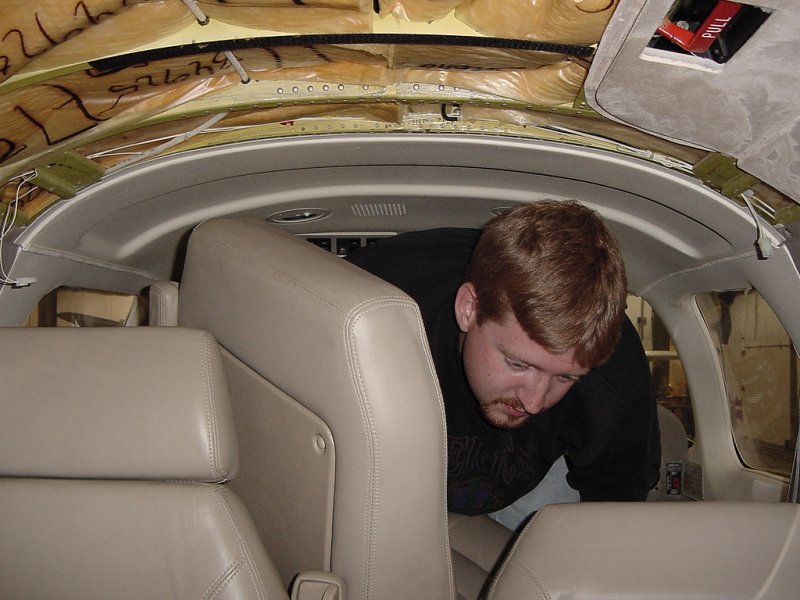
So we turned on the plane and repeatedly swicthed between "GPS" and "NAV" and "GPS" and "NAV" and... well, you get the picture. Something somewhere was clicking like a relay, and we were getting close. In addition to the nefarious red herring in the back of the plane, there was something clicking under the pilot's feet (remember when I told you that you stick things where there's room?). You can see where we found it here:
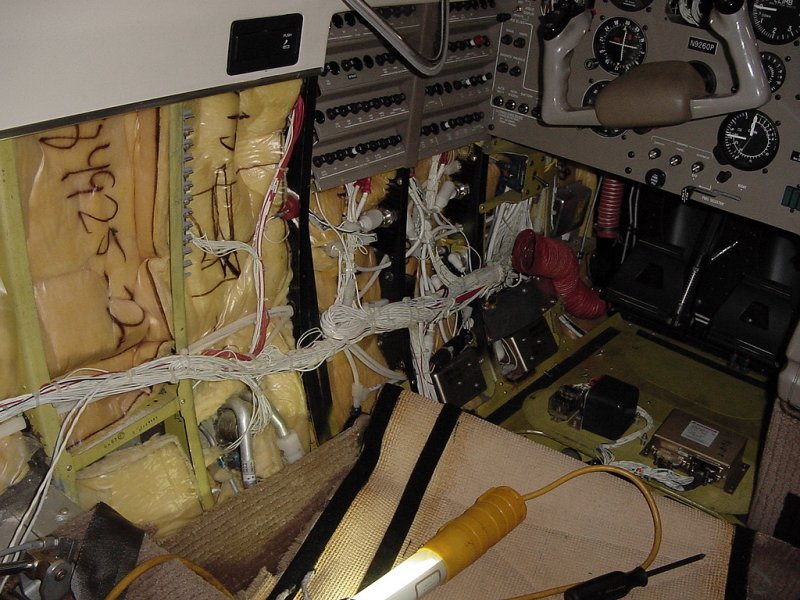
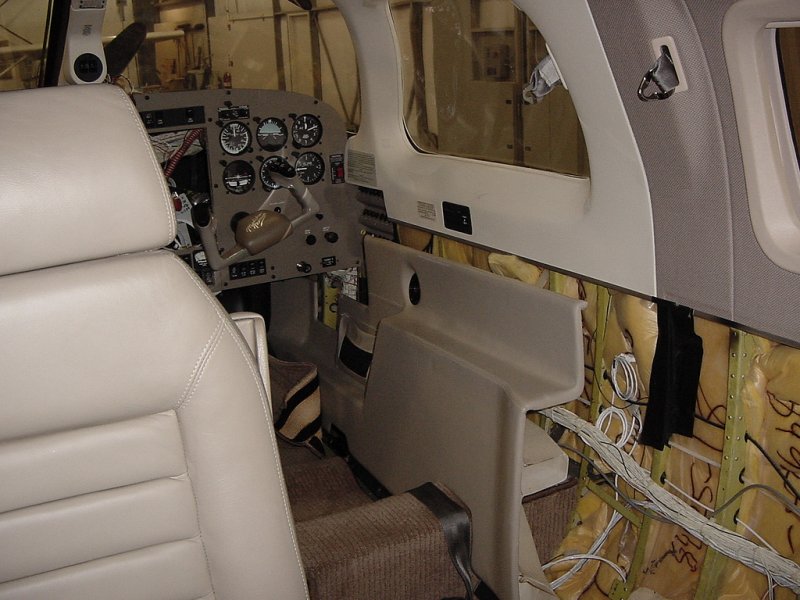
While searching for this, we had to pull out the pilot's side interior piece as well:
Well, we found the relay. That's the good news. The bad news is, we didn't have to. After consulting with one of the other installers, he recommended we leave it in place and just disable it. This is because many other wires leave from this box and head to other places in the plane. To remove the box, these wires would have to all be hooked up properly (which they already are, in a sense). So... to save ourselves some headaches and wasted time, we decide to leave it in the plane.
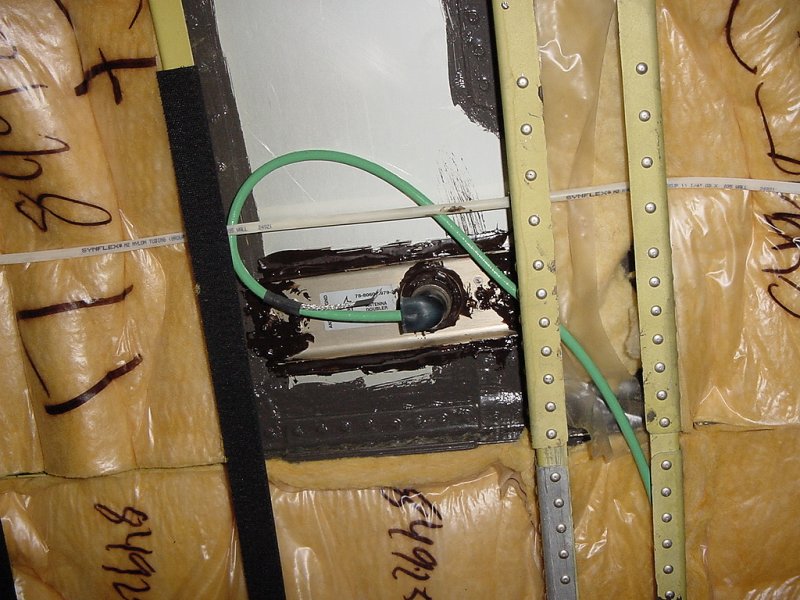
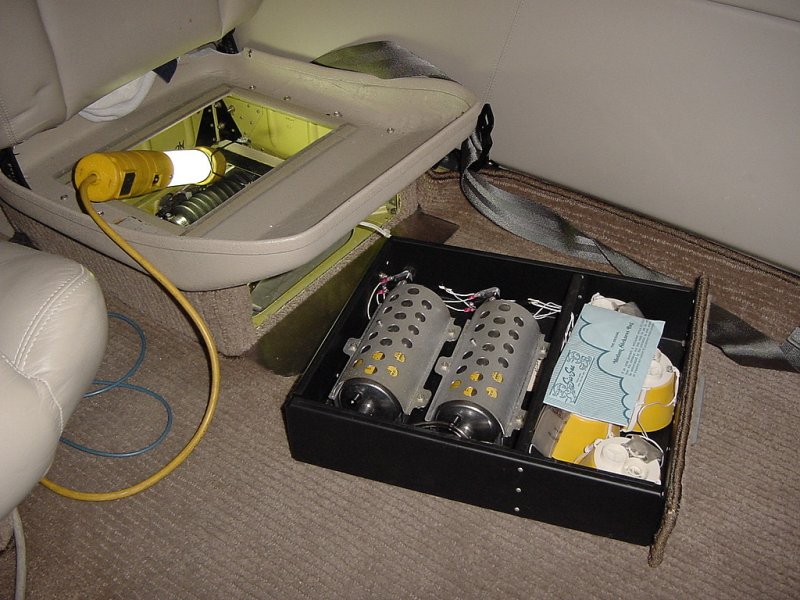
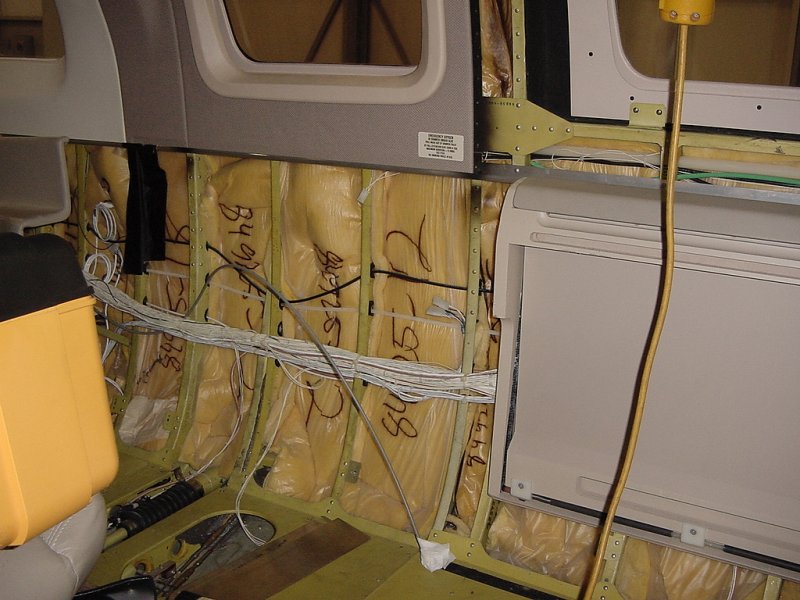
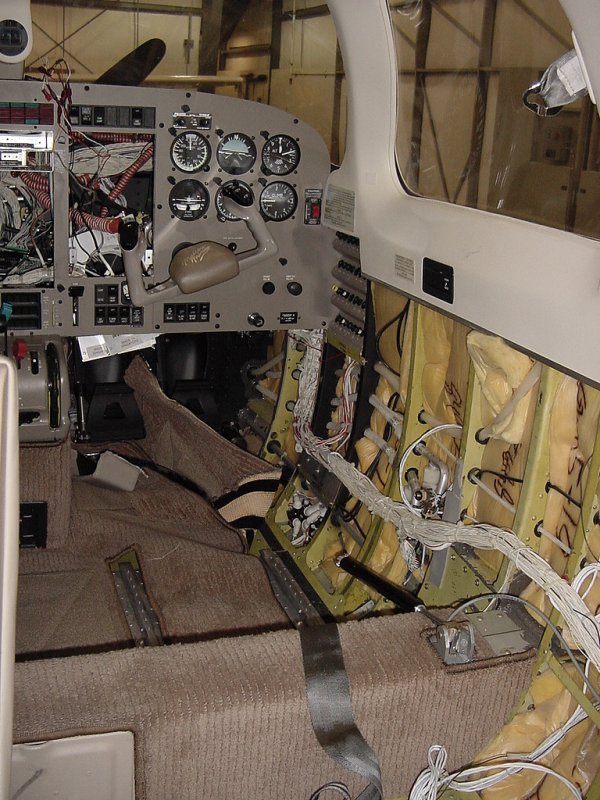
About this time, the nice UPS man delivered our WX-500 antenna lead. This 25-foot piece of wire costs well over $100, and comes pre-terminated on one end. Thankfully it doesn't have to be factory terminated on the other end, or we'd never be able to route it through the little holes in the plane that lead to the back where the processor is going to be mounted. Here you can see it attached to the antenna and routed to the back of the plane:
The next job is going to be running the wire loom (harness) from the processor all the way up to the front of the plane. For this, much of the remaining interior needs to come out because it covers the routing path these wires need to take.
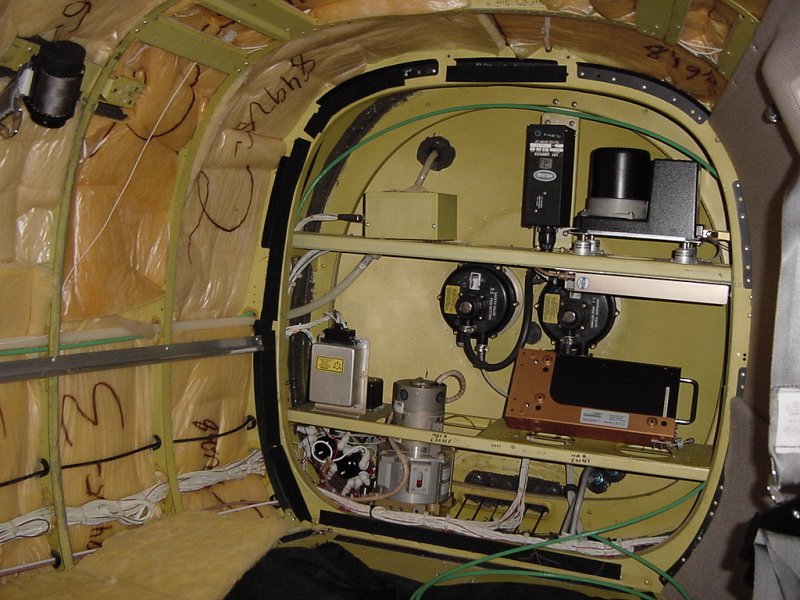
The Mirage's interior is installed in large pieces, which means to get part of it out, you generally end up taking all of it out. This results in nice seamless lines for the owner, but for the installer, it means hours of work just to expose small parts of the plane (and this is how certain planes cost more to work on than others). So, first we had to remove the copilot's seat and right center passenger seat. Under the passenger seat, you can see where the supplimental oxygen is stored on this plane in case of emergency ("sudden change in cabin pressure" is how airlines like to put it - "explosive decompression followed immediately by splitting pain and air filled with mist and then fading consciousness within seconds" is how pilots refer to it). These are oxygen gernators that, once started, spew out hot oxygen gas that is hopefully cooled by the long hose before it reaches your mouth. These generators get so hot that they need heat shields, lest the start melting and burning things (like the bottom of the passenger) when in operation.
Once those pesky seats were out of the way, the side panels could come out in relative ease. The writing table and carepting under the pilots' seats was also removed (not shown).
Whew! Finally, all that interior is out. This took over two hours of work just to remove these panels. Many things were in the way getting them out, and putting them back in will probably take just as long. Maybe day 6 will have us finally doing some work on the front panel, but most likely, it'll be running the wires from the processor up to the front.
This marks the end of the first week, and now it's time to start installing things and putting it all back together. Over the next week, you should see how all this happens.
Day 1
Day 2
Day 3
Day 4
Day 5
Day 6
Day 7
Day 8
Day 9
Day 10
Day 11
Day 12