Day 1
Day 2
Day 3
Day 4
Day 5
Day 6
Day 7
Day 8
Day 9
Day 10
Day 11
Day 12
Welcome to the end of week two. Things are getting closer to being done, and things will go back together quickly from here on out (barring any major unforseen circumstances). Things might look like a complete mess, but this about any project: The biggest mess comes right before the finish.
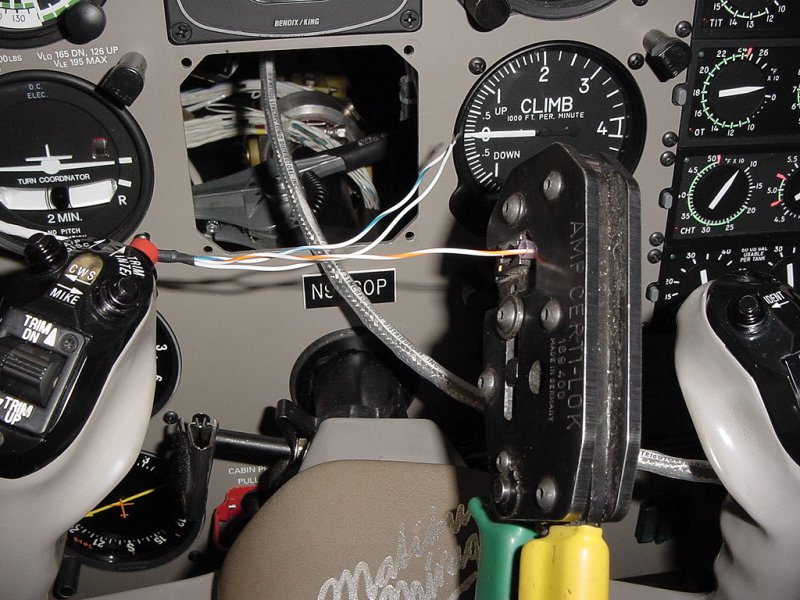
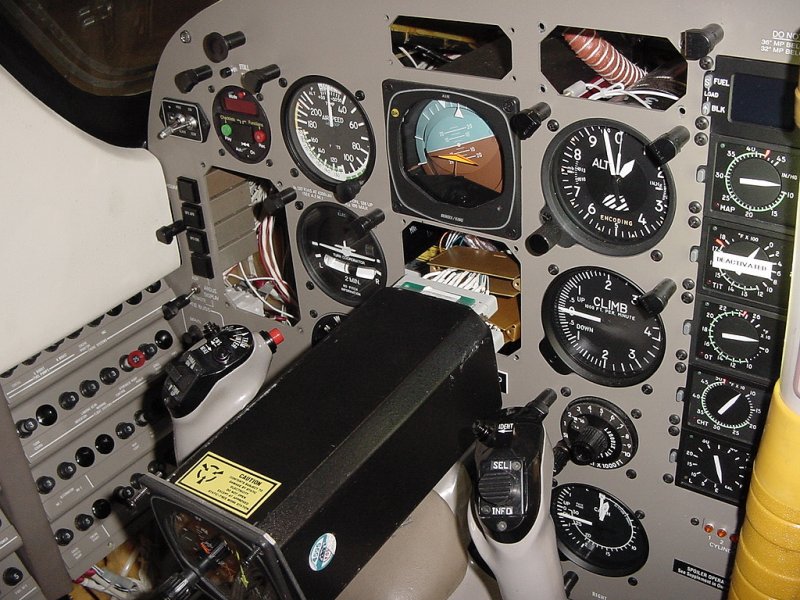
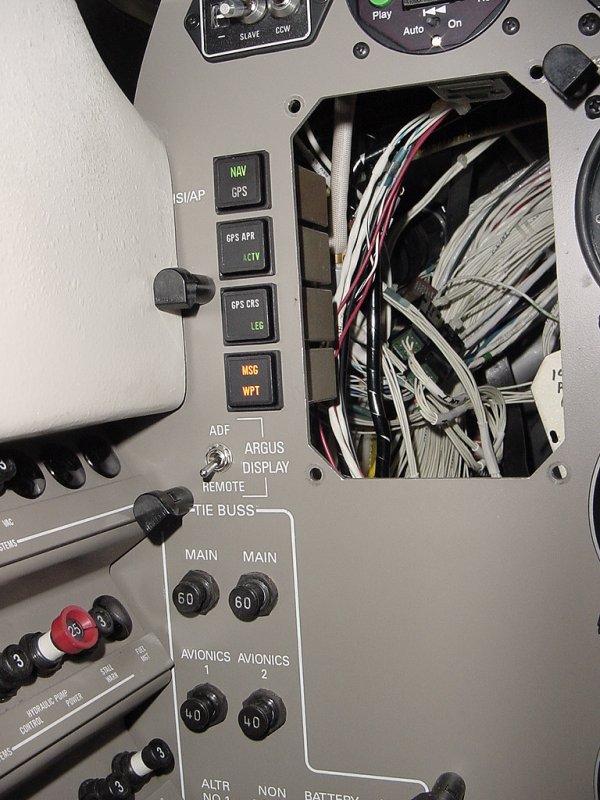
The first project of the day is changing the function of the annunciator switches to match what the 530 actually can use. The older KLN-90B was certified for use under IFR using physical annunciators whereas the newer GNS-530 uses on-screen annunciators that are equivalent as long as the display is within the normal viewing area of the pilot. In this project, the screen will be right in the middle of the panel, so the existing annunciators aren't really required at all, but we're hooking them up for familiarity and redundancy's sake.
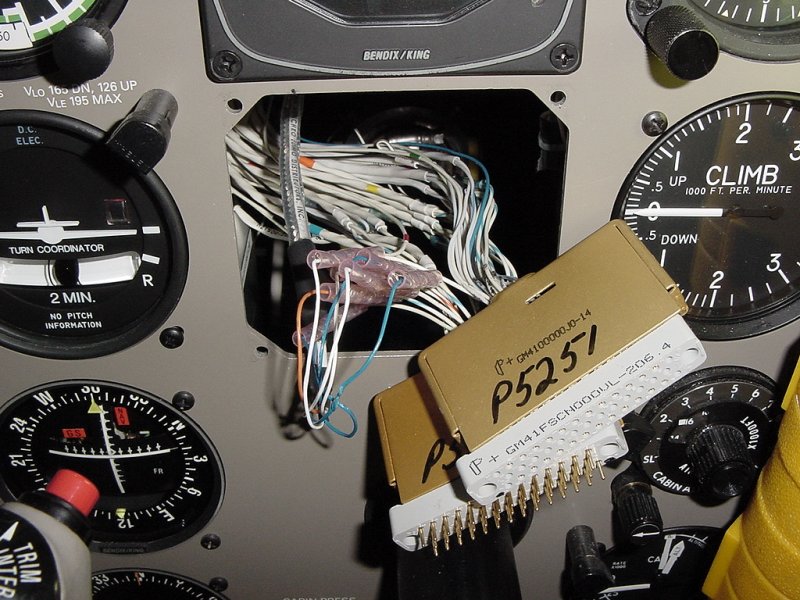
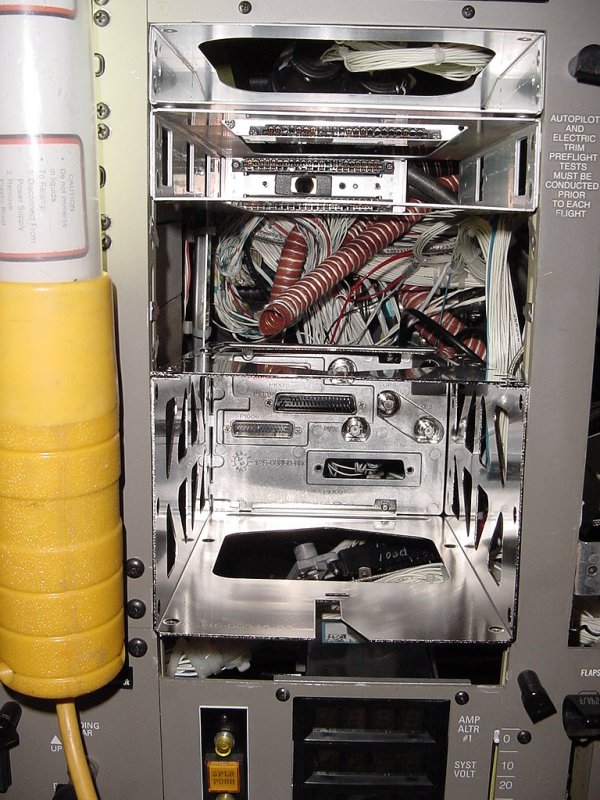
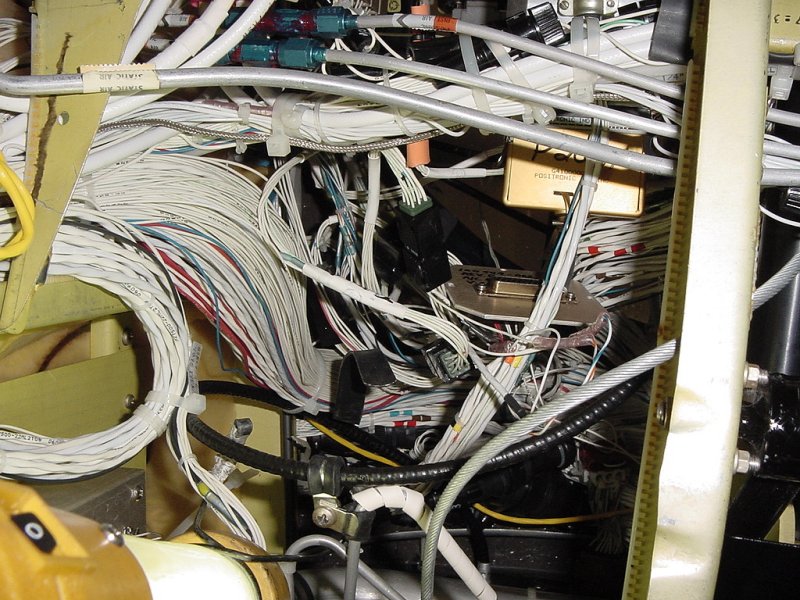
This is what we start with:
I ran a 3-core wire from the 530 to the switches for each of the functions which are now coming directly from the 530 instead of a relay or other circuitry. To prepare this for connecting to the switch, we first have to strip it and put splices on the end of it. Then, the necessary wires are clipped from their existing connection and spliced into the new wire.
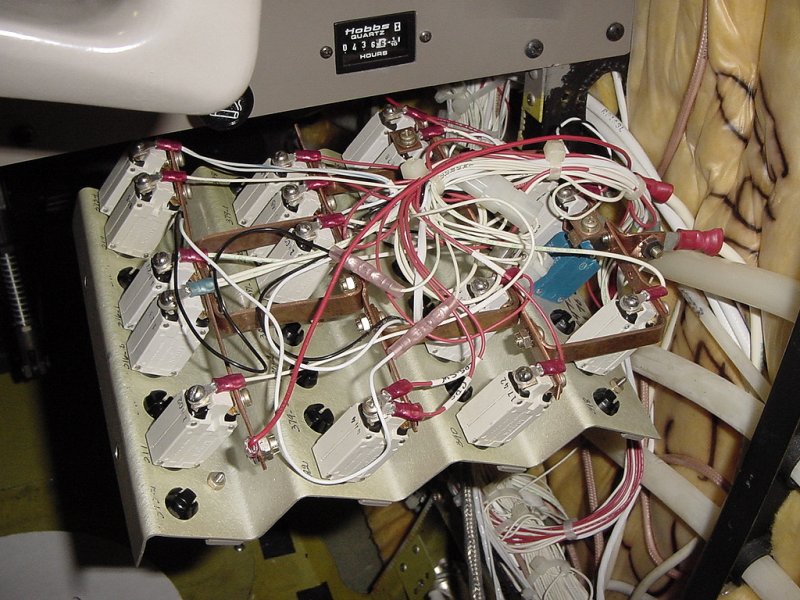
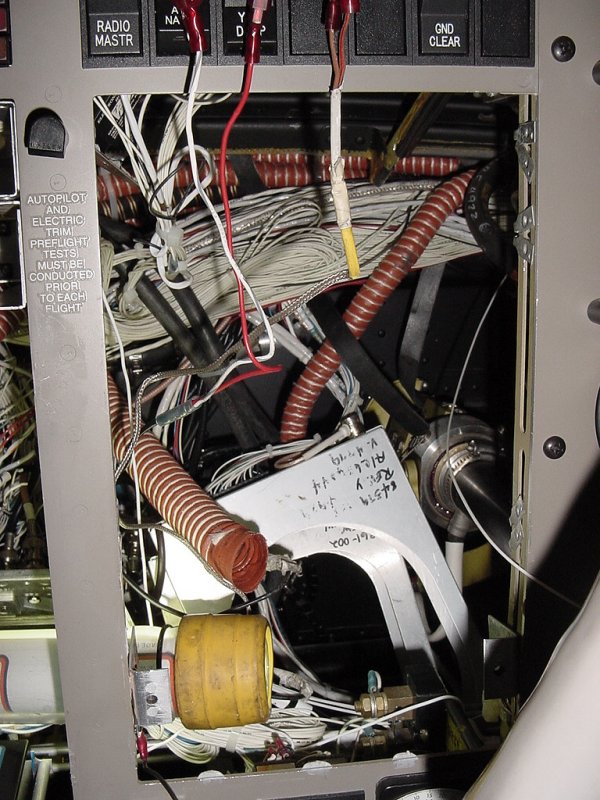
While I was working on this, Duane was adding a new circuit breaker for the WX-500 and swapping in a different amp rating breaker for the 530's comm power (it has separate power for the comm and "everything else" sections). Here you can see the back of the copilot's side breaker panel:
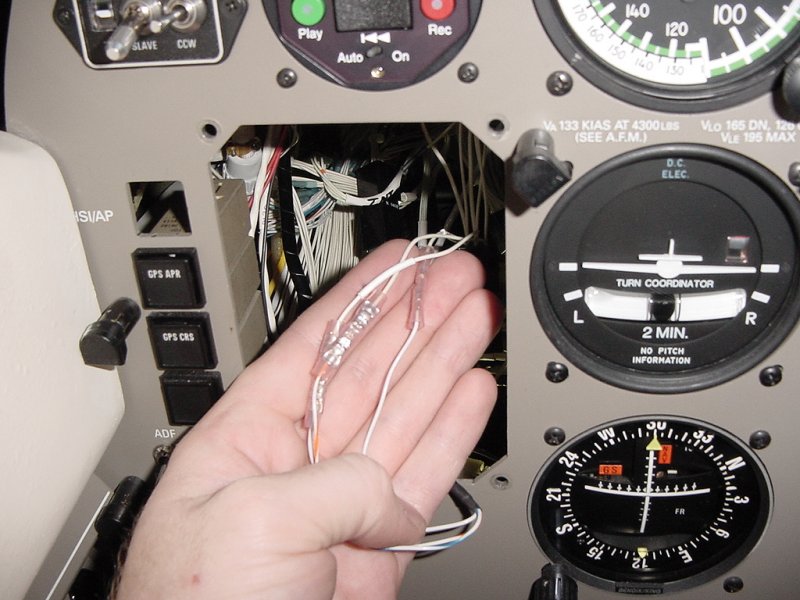
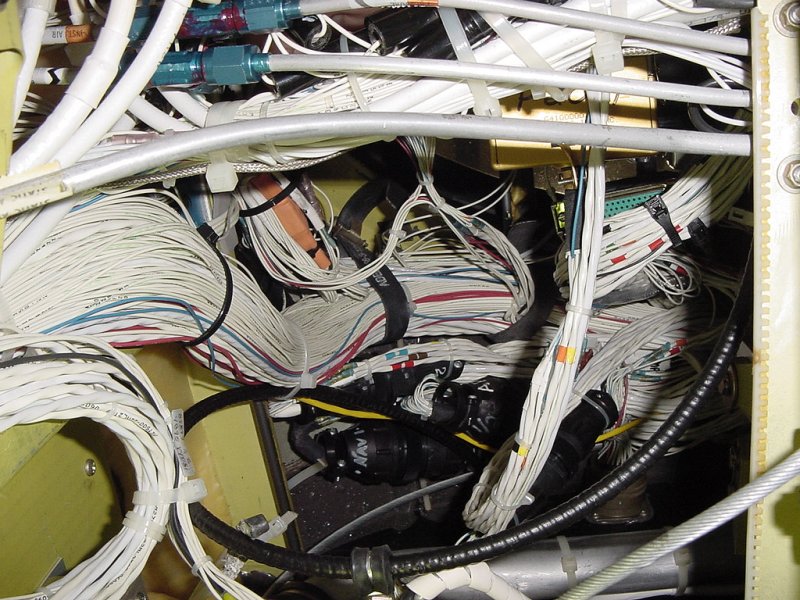
Next up on my plate was splicing in the heading "synchro" line for the WX-500 into the HSI. The HSI gets its heading information for slaving on 5 wires: X, Y, Z, H, and C. These wires are part of the overall KCS-55 system that the KI-525 HSI is a part of. In addition to these 5 signals, the WX-500 also needs the "Heading Valid" signal which indicates a healthy compass system and consequently a valid heading signal on the X, Y, Z, H, and C lines.
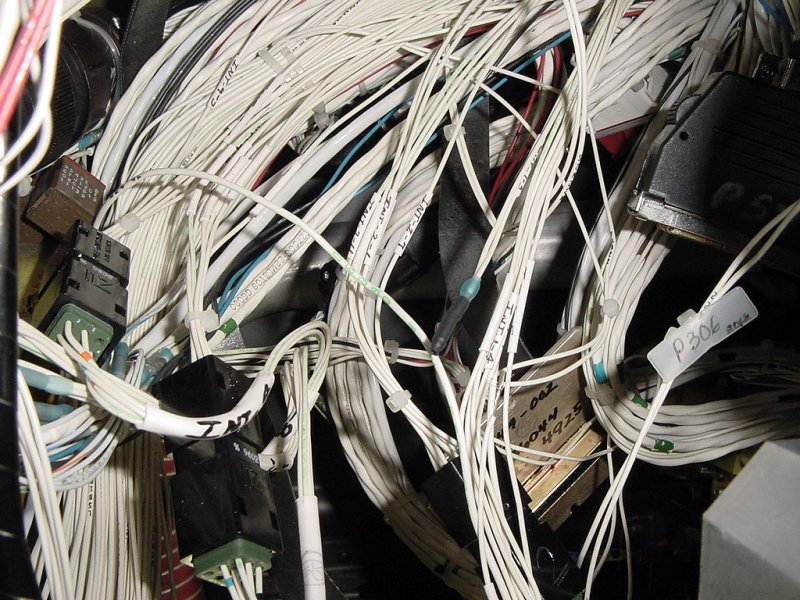
The back of the HSI has two connectors on it. All but one of the wires is on one of these connectors. The first part of this job was to strip the cable (this is the nasty one with many layers of shielding and insulation) and also removal of the HSI connector backshells.

Then, as with the switch splicing job, splices are added to the end of the cable (doing it in the order is easier to work with) and then the necessary wires are clipped and spliced in. However, in this case, we're adding a line to an exxisting circuit, so the old line has to be spliced back together with the new wire hanging off the side, so to speak.
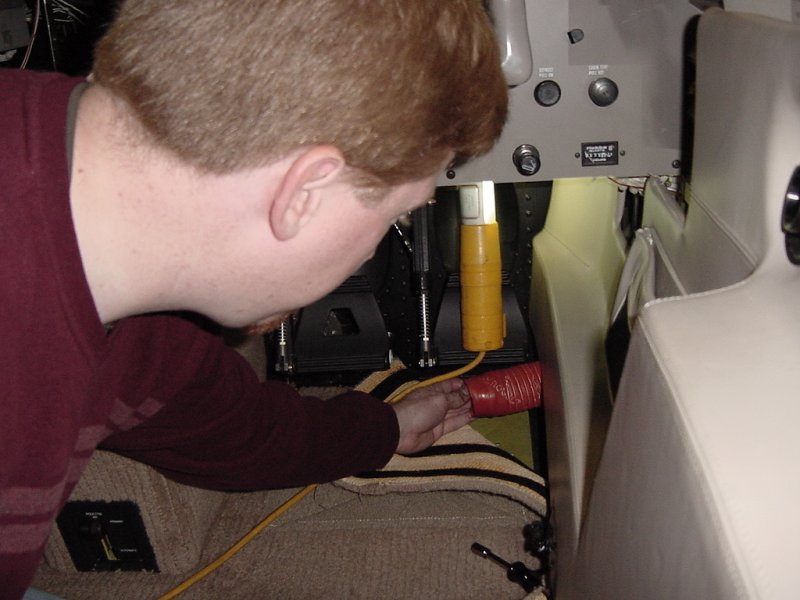
Before continuing, the day wouldn't be complete without looking outside the hanger momentarily while the doors are open for manuvering planes.
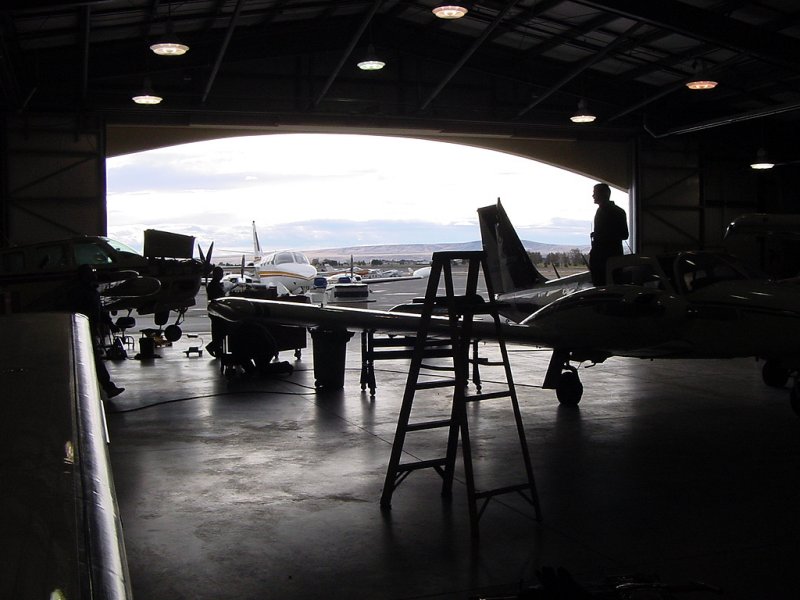
After sitting inside for 8 hours a day for a few weeks, you stop to look outside when the hanger doors are opened every now and then.
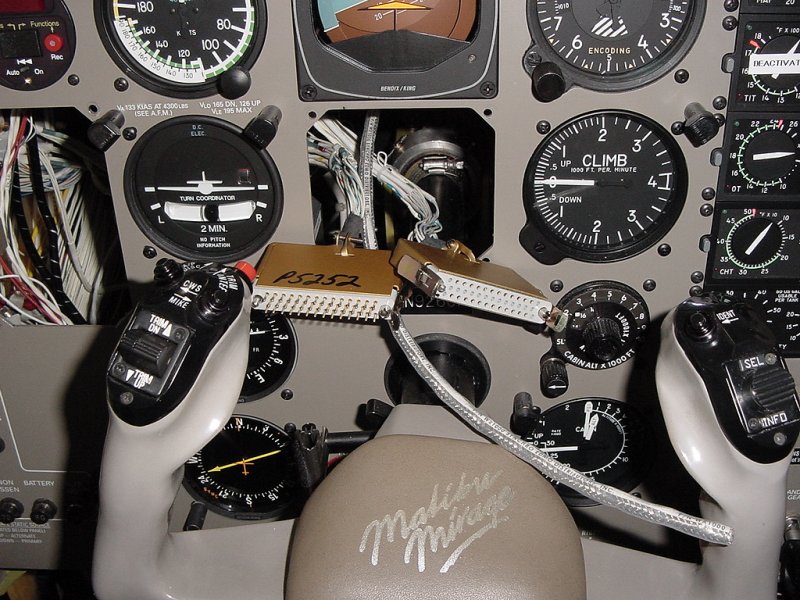
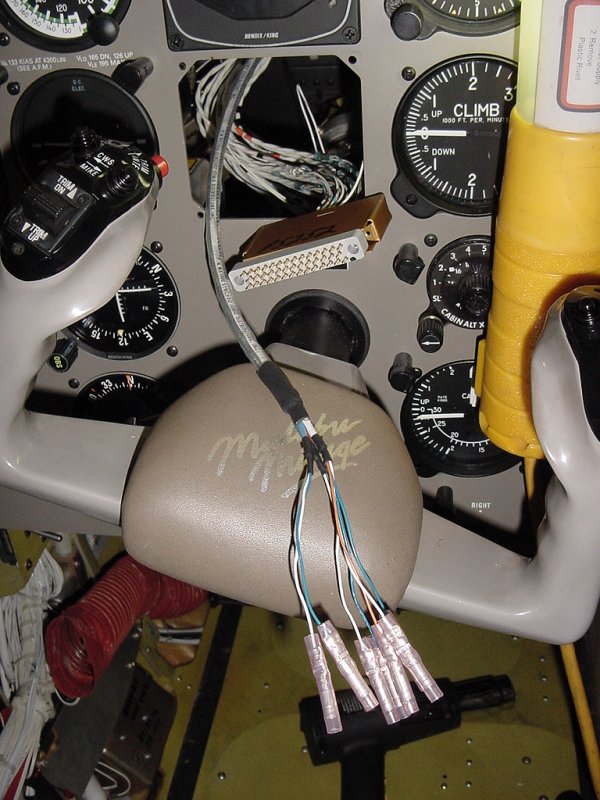
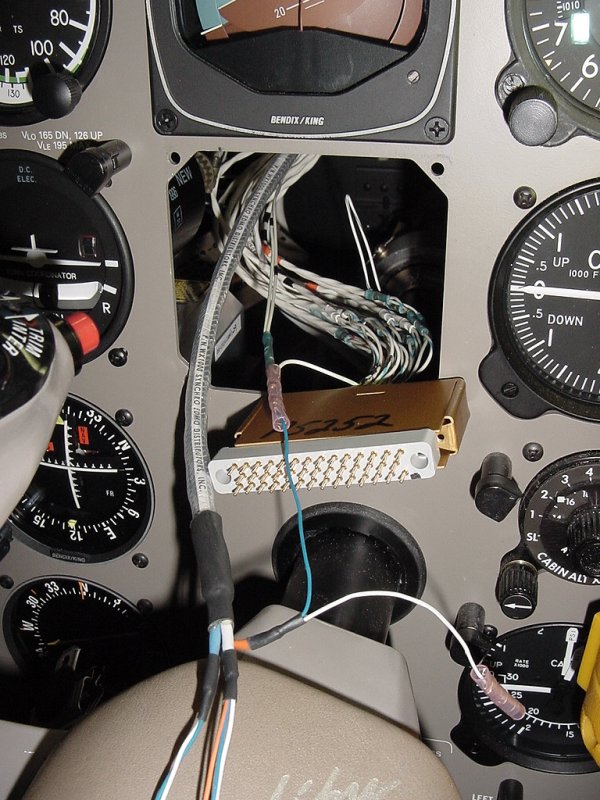
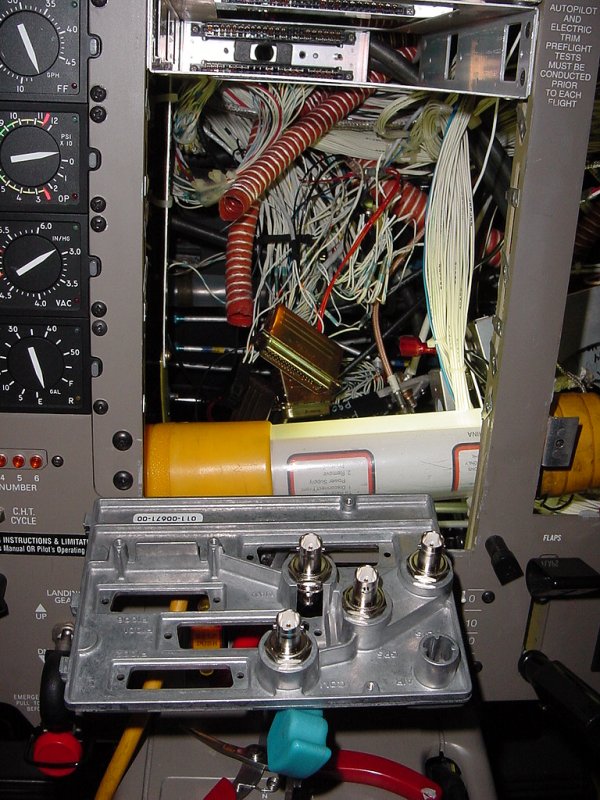
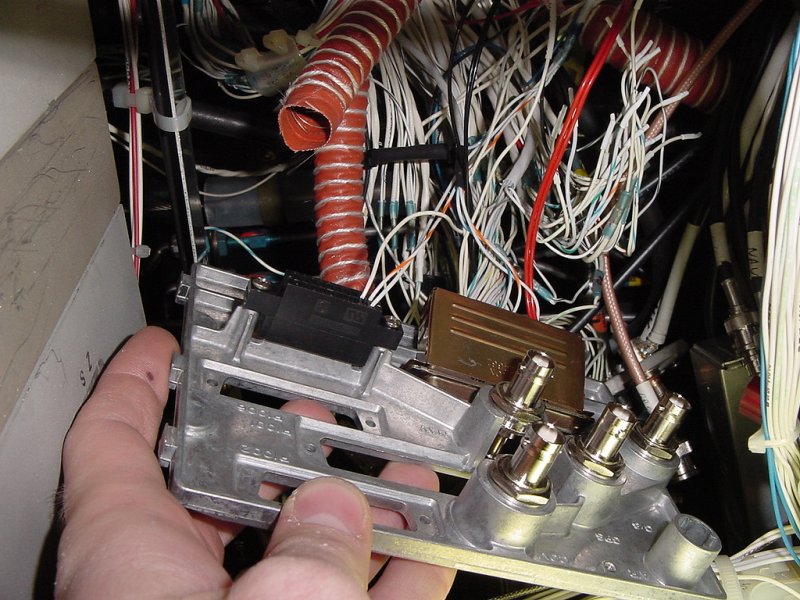
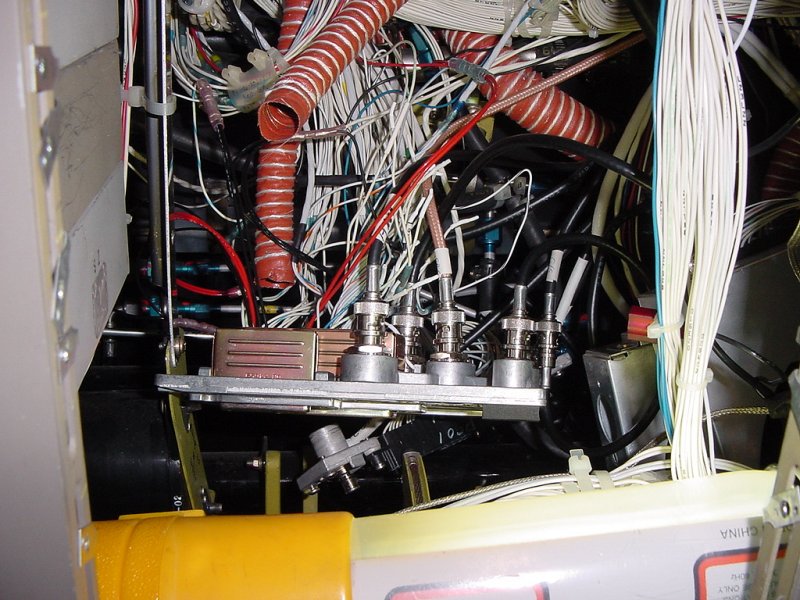
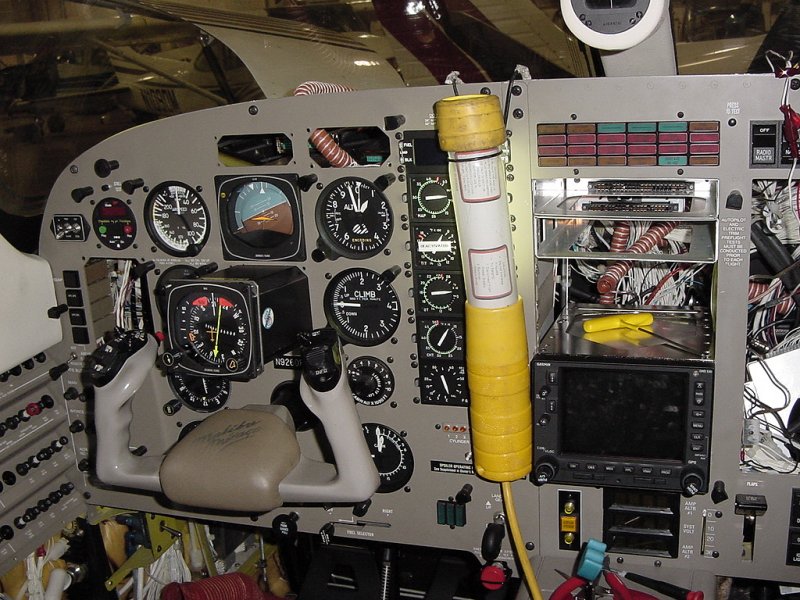
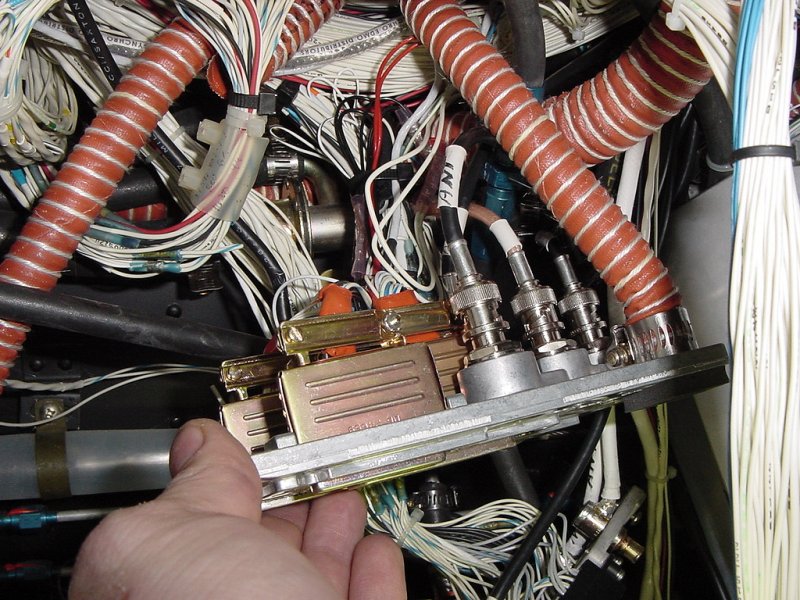
Ok, back to the job at hand. After getting the HSI wired in, it was time to put the connectors on the backplane of the 530 and do a quick sanity check of all this work (keep in mind that not once in the last couple weeks has the power been turned on to check any of this work since until now it wouldn't really do anything). The connectors are screwed onto the back, the coax is snapped on for the antennas, and then the tray is screwed onto the backplane (using sticky stuff on the screwdriver to keep the screws from plunging into the inky depths of the plane).
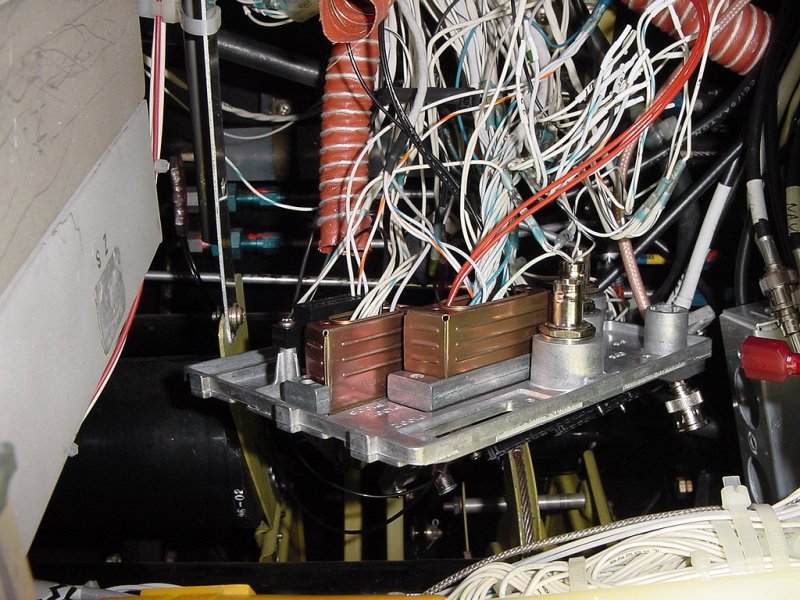
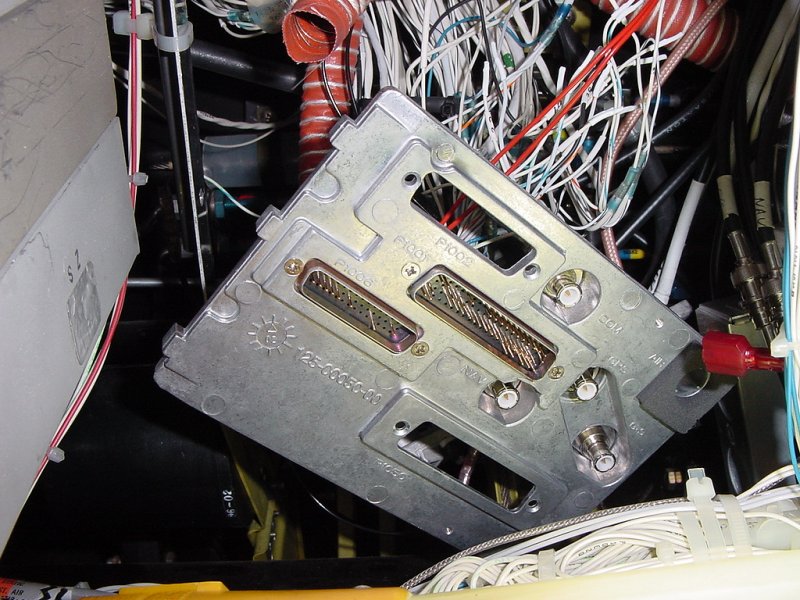
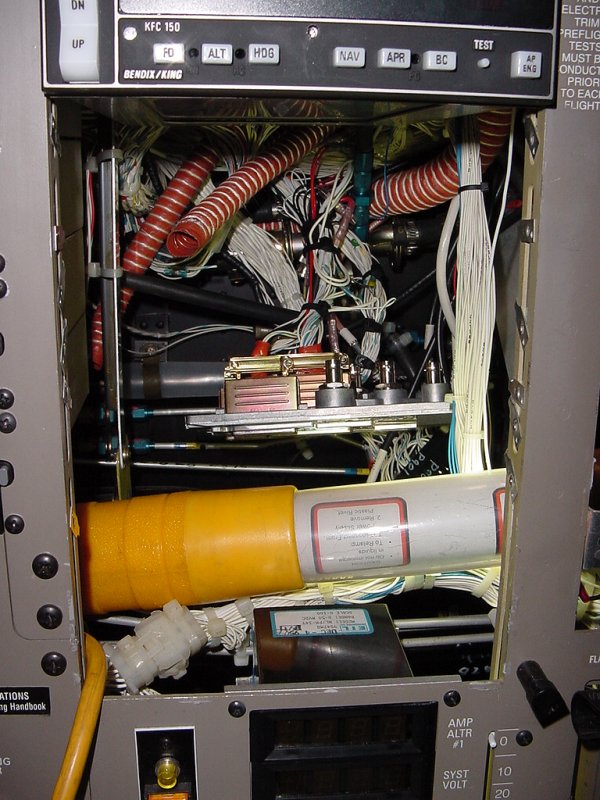
With the tray orriented properly, it's all ready for its 530. Now we plug the HSI back in quickly to do the check.
And now for the big moment.... drum roll please....
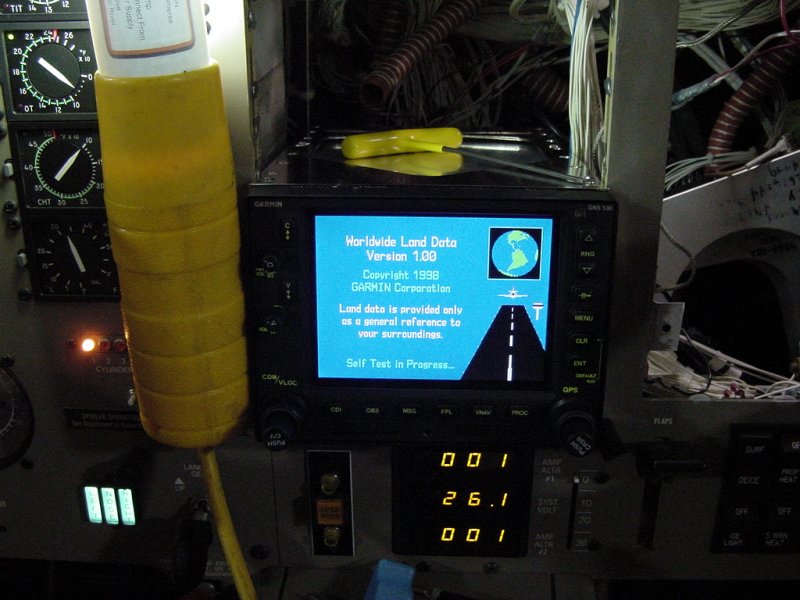
No puffs of smoke or anything... must've gotten those red and black wires on the right pins (actually, when hooking up a box worth this much you triple check these sorts of things). Even the annunciators work:
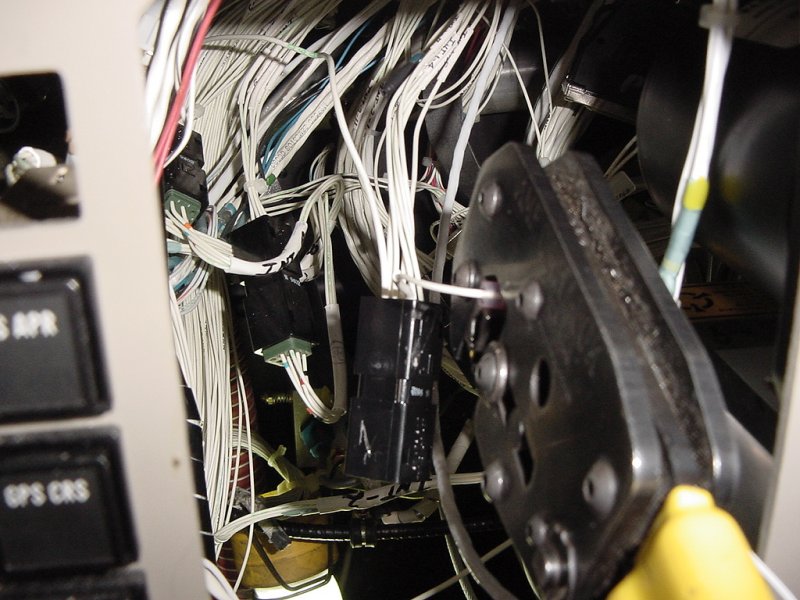
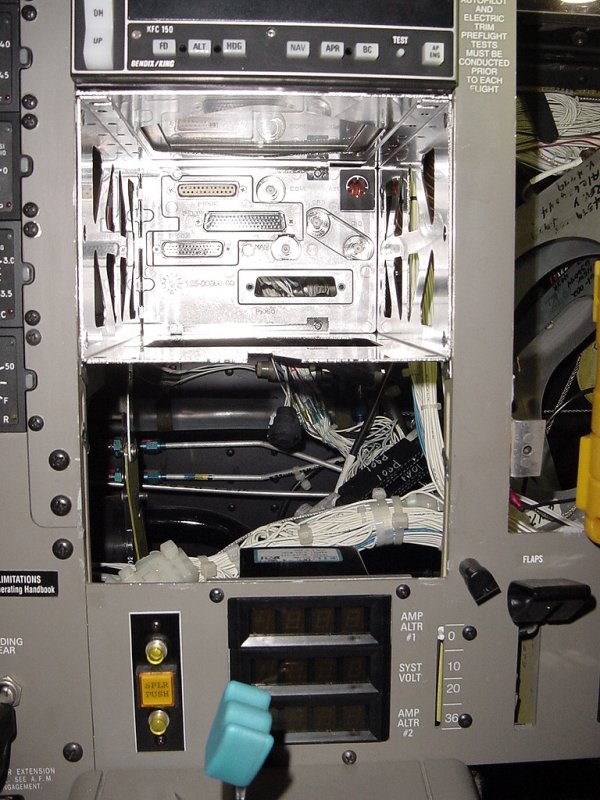
After doing a quick check of all the functionality (VOR left, right, to, from, OBS integrity, annunciator and switch functions, WX-500 communication), the 530 and HSI are removed and we take some time to tidy up behind the panel.
First up is putting the backshells on the HSI connectors. These have clips on either side and a strain relief on the back. Also, they have alignment pins to make sure they go on the right way, so it takes a little bit of fiddling to get them all back together properly. Also, a rubbery tape is applied to the wires where they come in contact with the strain relief so that the pressure is more evenly distributed (while the tape is not sticky, it quickly bonds to itself).
Meanwhile... Duane was starting to put the interior back together:

Here's a couple good "before/after" shots of underneath the panel. As you can see, wires started to migrate all over the place. By ziptying them up a little and putting them back in their rubber straps, the scene is a little less entropic.

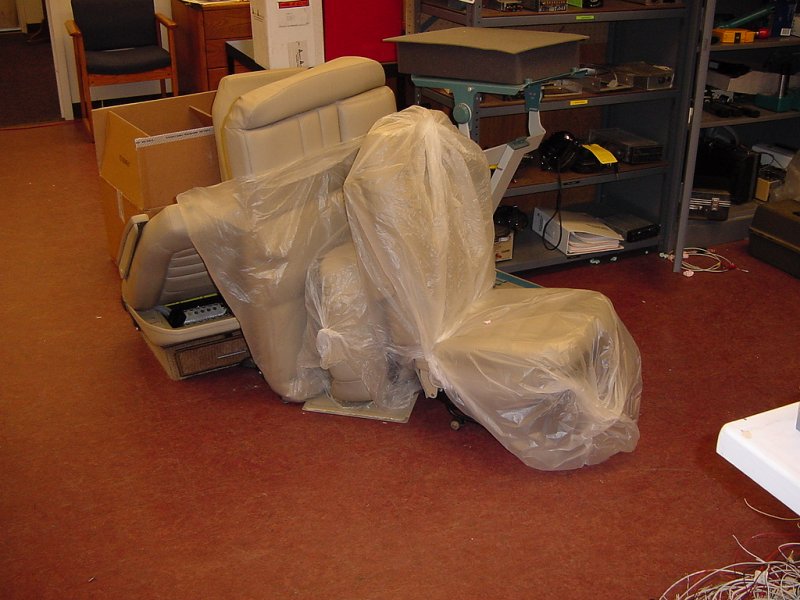
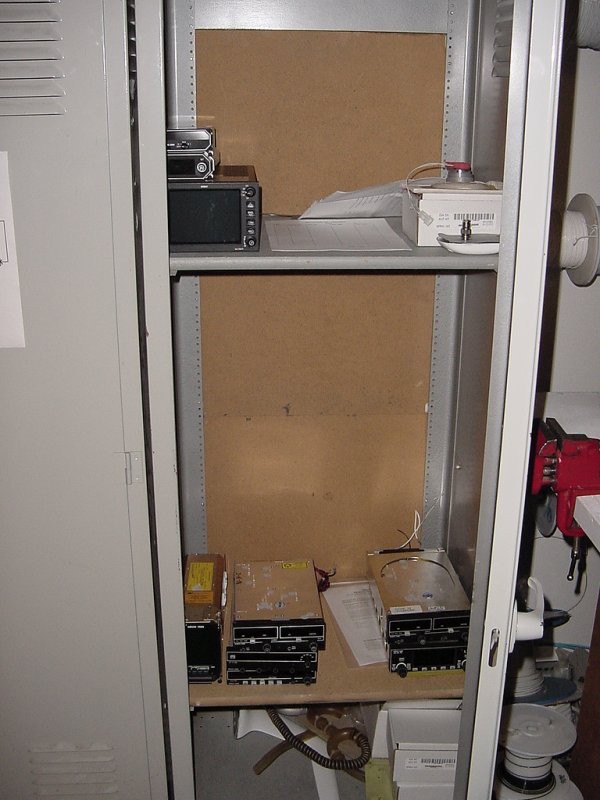
Here's some shots of the interior scattered all over the place, patiently waiting to be put back in the nice comfy plane:
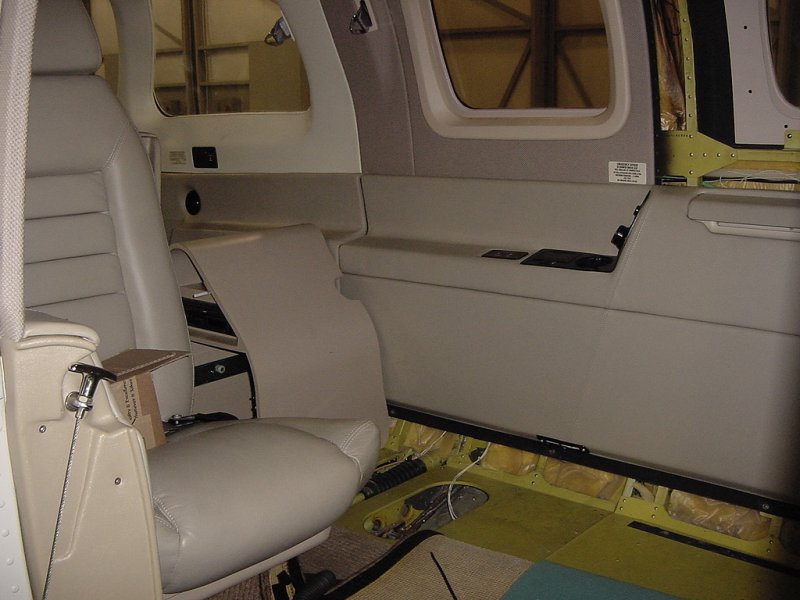
So now that underneath the panel has been cleaned up a bit, I help Duane put in the copilot's side panels. This includes a writing desk that pulls out of the wall between the passenger rows.
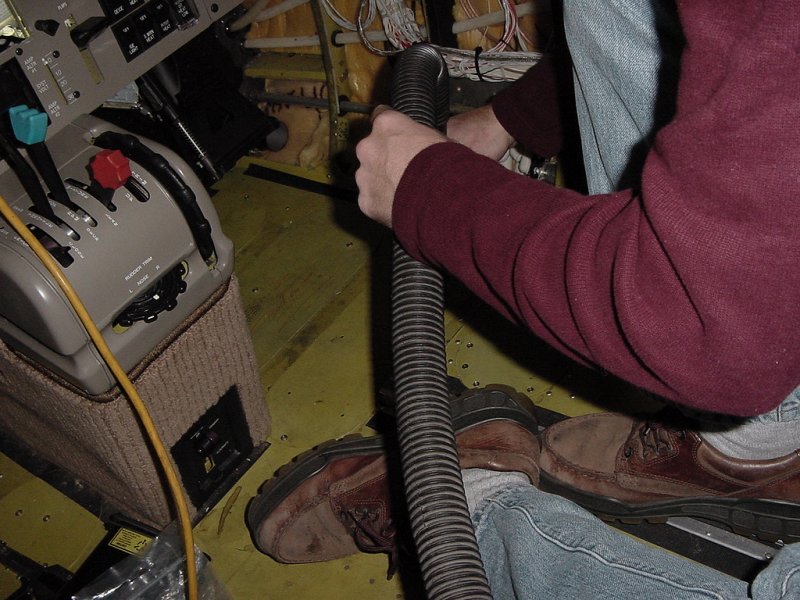
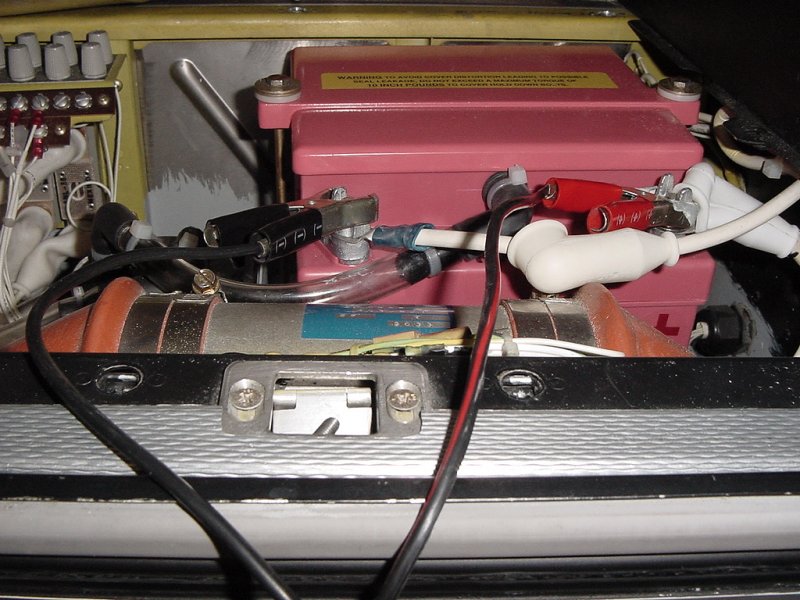
Before putting the carpet back in, it's nice to clean up all the random snippings (wire, insulation, etc.), so I vacuum up the cockpit area while Duane sneaks off with the camera to take a picture of the battery compartment in the forward baggage area. The battery is left on a charger during the day so we don't run down the battery doing power tests and completely disconnected at night to prevent any embarrassing electrical fires.
Now the the floorboard is clean, it's time for the carpet to go back in. I might make the plane look roomy, but my back is up against the ceiling in this shot.
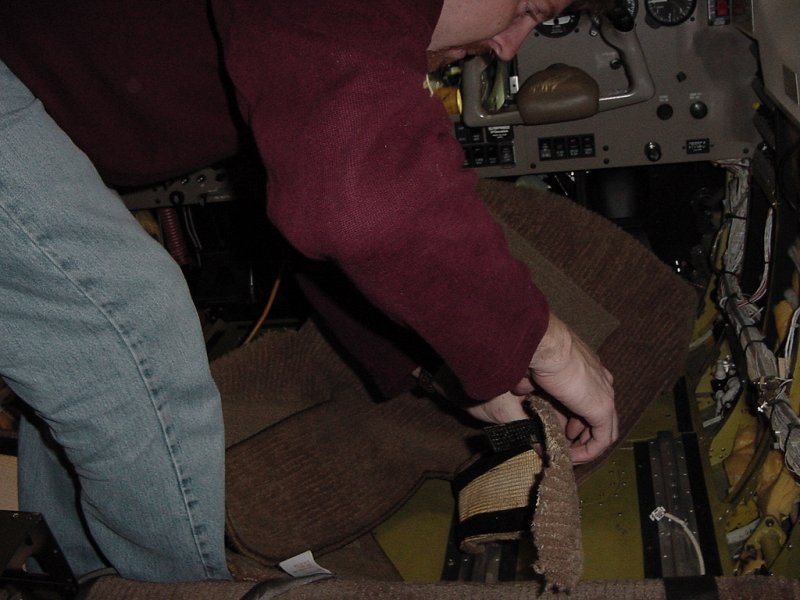
Now we put the copliot's side back in and attach the ventallation hose. It was covered in an oily lubricant presumably to get the round hose to fit over the oval pipe, but it made handling it and subsequent tools very slippery work.
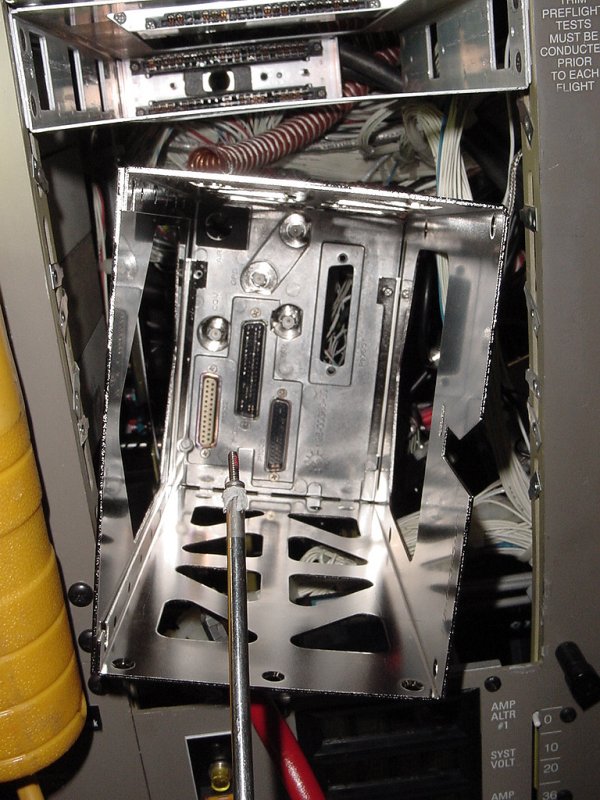
With the interior coming back in nicely, it was time for me to get back to the 530 mounting. After pulling the tray back out, I tied up the wires in the panel, attached the cooling hose, and mounted the tray in the panel. Also at this time, I put the rubber tape on all the 530 connections.
With the interior coming back in and the avioncs ready to be remounted, it was time to call it a day. You'll see things coming together quickly in the next day or two (depending on how fast we go), and then it's time to go flying (whee!).
Day 1
Day 2
Day 3
Day 4
Day 5
Day 6
Day 7
Day 8
Day 9
Day 10
Day 11
Day 12