Day 1
Day 2
Day 3
Day 4
Day 5
Day 6
Day 7
Day 8
Day 9
Day 10
Day 11
Day 12
Day 12. The last day. The day the job gets completed. The day we've all been waiting for.
The day we reinstall the upholstery.
Before getting started on the day's commentary, let me say this. Everyone in the aviation maintenance world hates upholstery. Let me say that again, with proper emphasis:
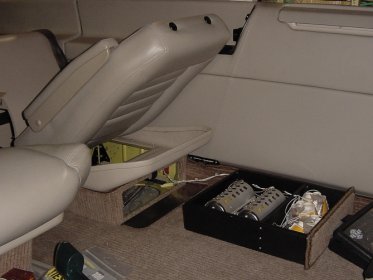
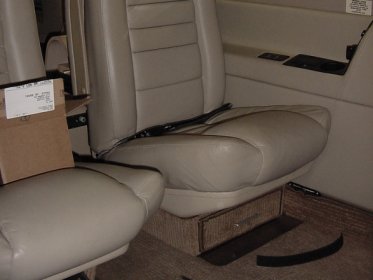
Ok, now that that's out of the way, let's begin. The morning started off with reinstalling the center seat that got pulled out to remove the side panel (for installing the WX-500 wires that went to the front - you can see how something simple turns into a snowball). This seat also houses the emergency oxygen generators for the passengers, so some care needs to be taken to not set them off.
When we pulled the seat out, we managed to get the 6 bolts out without too much trouble, but to put them back in proved to be somewhat more challenging. By removing the seat pan, I was able to get better access to the bolts and it went in fairly easily.


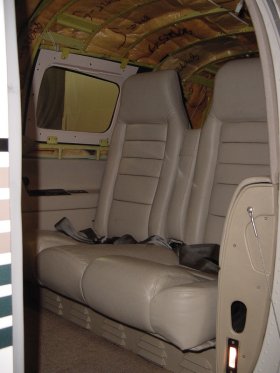
Next up was the back seat. This was fairly easy as it only involved 4 screws (all the seat bottoms on the Malibu velcro into place, so once you get the seat pan in place, the bottom goes right in).
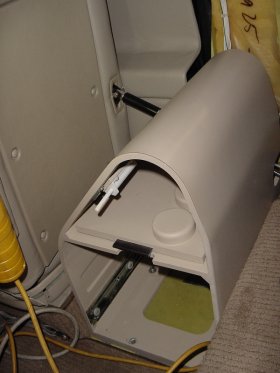
Then it was time to put in the consoles between the cockpit and passenger seats. These house pullout drawers for storage as well as the CD player and fire extinguisher.
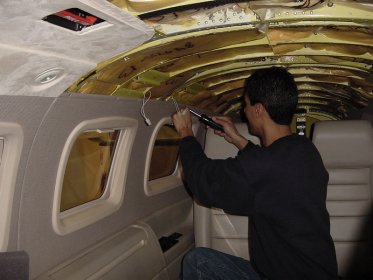
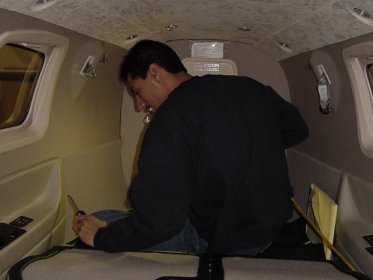
While I was working on the front of the plane, Duane was putting together the back of the plane, as you can see here.
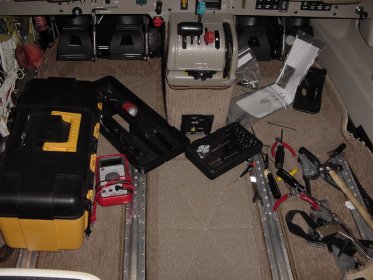
Here's a good shot showing that the airplane gradually becomes your toolbox. The toolbox you see in here is actually empty since all the tools are scattered around the cockpit. This happens about every two days as the tools are alternatively organized in the toolbox or in the plane. This particular shot was actually taken after some tools were already removed and put back in their proper place - so there were more at one point.
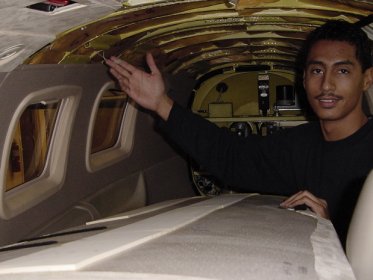
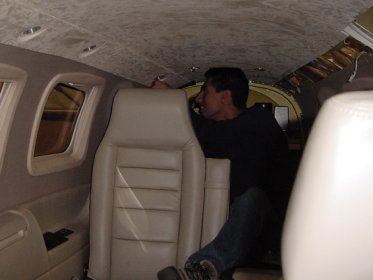
I started putting in the copilot's side panel while Duane started on the headliner. Here he is pointing out one of the overhead lighting connectors for the passenger area.
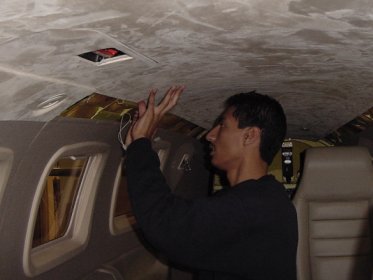
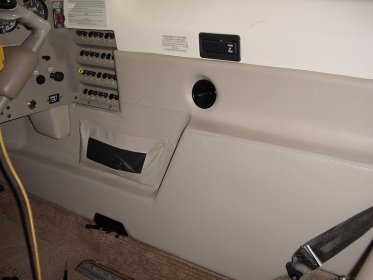
While starting on the pilot's side panel, Duane continued putting the back together by installing the lighting.
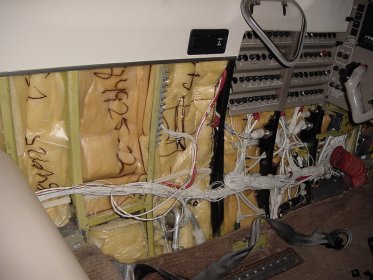
Once I took a closer look at the side panel, I remembered a hose that needed to be reattached using a hose clamp and silicone sealant. This takes a few minutes to set up enough to work around, so while waiting, I installed the copilot's seat while Duane put the finishing touches on the back of the plane by putting the rear bulkhead panel in..
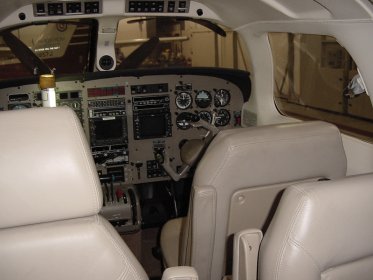
Now that the silicone had set up enough that minor jostles wouldn't cause the hose to pop off, it was time to get it in the plane. I first put it in place to reattach the headset jacks and ventalation ducts and hoses, then screwed it into place.
One of the tools we use a lot when putting back together upholstery is a small centerpunch. By sticking it through the hole you can see on the face of the upholstery, you can fish around for the screwhole until you get everything lined up. Then you just hold the pieces in place while putting the screw in at the same angle. This is especially helpful when going through multiple layers at once (say a plastic cover over carpet going into metal).
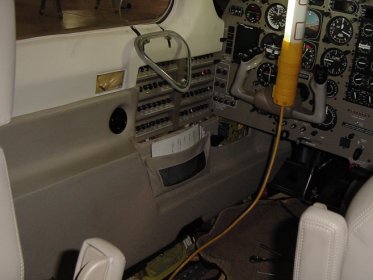
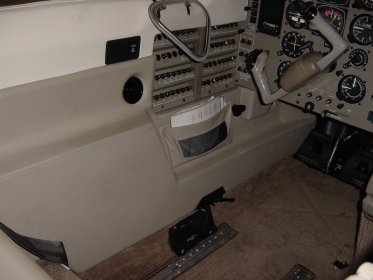
The asstute pilots amongst you might notice that multiple breakers are pulled on the pilot's side. This is done for two main reasons - some things just make noise and draw power such as cooling fans and electric gyros, other things are safety issues such as fuel pumps and gear actuators. Since these things are not needed during installation, I like to pull the breakers to ensure that accidental bumping and such does not accidentally turn into an accident.
Before hauling the plane outside for its final test, let's take a quick look at how the interior has come back together:
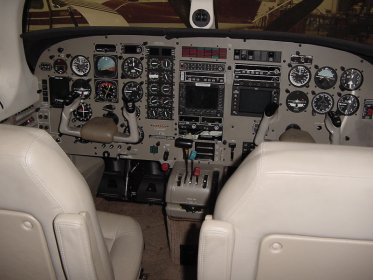
After pulling the plane out of the hanger and starting the engine, I turned everything on and made sure it still worked as well as the day before. Here you can see the 530 coming alive:
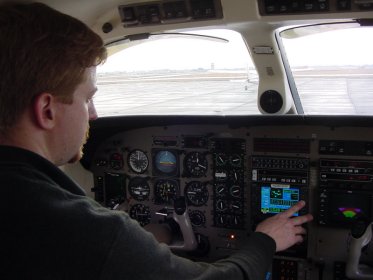
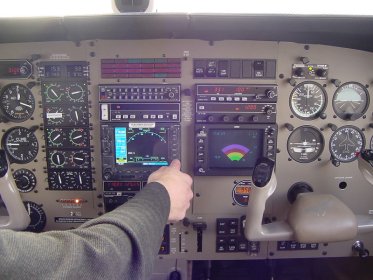
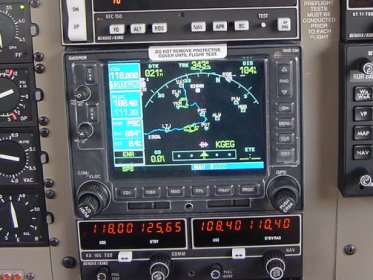
We also used an electric drill to simulate lightning (tiny sparks nearby are like thunderbolts at 200 miles) and ensure the WX-500 was working. After we had some strikes on the display, we slowly taxied around the tarmac to verify that the heading information was getting to the WX-500 and it rotated the strikes around as we turned the plane. This also verified that the Argus was getting telemetry data from the GPS.
Here's a shot of a lonely 172 waiting for its next flight. The flight school that owns the hanger normally keeps very busy but at night there are about 6 other planes parked in this area.
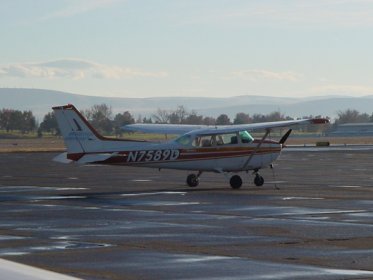
Well, that does it. The installation is complete and the plane is ready for its flight test. Once the owner has a chance to fly during the day, they might take me along to help them get used to the capabilities of the 530, or they might just learn on their own. Either way, they now have a very capable radio in their plane and it's ready to take them wherever they might want to go.
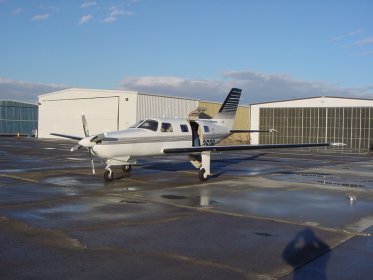
Thanks for reading about this install. Hopefully this has given you a better understanding of what goes into an avionics installation job. This one was about average as far as work and time involved, some are much more complicated. Tomorrow, I start on a complete retrofit on a King Air that'll last about three weeks and then we're on to a Citation. Fly safe.
-Justin
Day 1
Day 2
Day 3
Day 4
Day 5
Day 6
Day 7
Day 8
Day 9
Day 10
Day 11
Day 12